During the month of March my preschool set out to explore Travelling by Plane and Airports! For the last month or so I had been observing and documenting (with a tiny bit of jealousy!) how many of the children were travelling by plane, the stories of where they went, and the excited tales of the places they were going. We heard about Hawaii, Mexico, Vancouver, Ottawa, Toronto, Hong Kong, China, Texas, Disney Land, and Colorado. Airports were being built, planes were constructed, and pictures were being drawn to decorate the classroom. My co-workers and I thought that a project on airplanes and airports was an obvious choice based off the needs, interests, and abilities of the children!
First Steps:
To begin our project, my co-workers and I began to brainstorm a planning web including our own experience and knowledge on the topic, the children's current knowledge, and ideas for the different learning areas and centres in our room. We included language and literacy, music, science, gym and movement, water, sand, art, group times, dramatic play, and writing. We also knew of a parent who was a pilot and planned to invite a REAL PILOT to the classroom.
A big part of our project was transforming our dramatic play centre into an airplane! We set up chairs, a cockpit for the pilots (with 2 pilot costumes, pictures of real cockpits, and computer keyboard controls), and had luggage available.
We also added items such as sunglasses, cameras, and hats to wear on vacation.
And, we always keep writing materials within our dramatic play centre. We included pencil crayons and paper for the children to use in creating boarding passes, passports or whatever other creative writings they wanted to include in their play! It was a great way to inspire pre-writing and communication through writing in our preschoolers.
Beginning the Project:
At the start of the project we used literature and group discussions to decipher what we already know about travel by plane and airports. We discovered:
- planes go fast and are loud
- they take you places like Hawaii, Mexico, Disneyland, Hong Kong
- you get a snack and a drink on a plane
- pilots fly planes
- planes go to airports
- they have jet engines and wings
- you go on planes for a long, long time
- you go with your family
- a lot of waiting happens at the airports
- you have a passport to travel
- you need to take a suitcase full of stuff like a bathing suit and your teddy
- you have a ticket for the plane
We wanted to know:
- why do you need a passport
- how do planes fly?
- why does it get bumpy in the air?
- what happens in an airport?
- what is check-in?
- why is a plane so loud?
- what is security?
- what is that think you put your bags in?
- what does "carry-on" mean?
Developing the Project
Some of our favourite experiences were:
- Security: For a group art project we took cardboard boxes and made them into X-ray scanners. We talked about how the security guards have us put our luggage and carry-on pieces through an X-ray machine to make sure they do not have dangerous things inside. We talked about how scissors, knives, swords, light sabers, fire, guns or other dangerous objects are not allowed. Then, whenever we got our snack packs for snack time, the children would push their bags through the X-ray box to make sure they were safe. Next they would walk through the metal detector (a door frame with streamers worked well!) and a "security guard" would check to make sure they were safe. I modelled this at first, but after some time the child who had show and tell that day would wave a "wand" to check their peers. They would say, "All clear"! Sometimes buttons and zippers would set off our metal detector!


- Passports: We looked at pictures of real passports, some the children had brought in, and made our own for dramatic play and drama. The passports had a Maple Leaf on them because we live in Canada. They had the children's names in them and stamps from the places they travelled to. We also took pictures of the children and they glued the pictures inside their passport.
- Check-in and Boarding Passes: The staff and I made boarding passes for each child at the beginning of the project. We included their first and last name, destination, place of departure, seat number, gate, and time of flight. Everyday at group time, the children would come up to a staff and "check-in"! We would pretend to check them in as they told us their names and seat number. Then the child would put his or her boarding pass in the corresponding number on the attendance chart. It was a great way to include numbers within our project! The 4 year old classes kept their passports at school and we added checking their picture to verify their identity. The 3's could not bear to leave their passports at school so we sent them home and put extras in the dramatic play centres. The 3's often made new boarding passes and passports with the materials there.
- Paper Airplanes: Of course!! How can you explore planes without them! We had a nice ABC book of different types of planes on the art table during this time. The kids flipped through it and would design a plane of their choice. It was a great way to explore the parts of a plane and the children added them to their planes. For example: windows, doors, cockpit, wings, baggage compartment, tail fin, jets, and passenger compartment. Then, we let the children fly them up and down the hallway because the runway and air space was bigger out there!
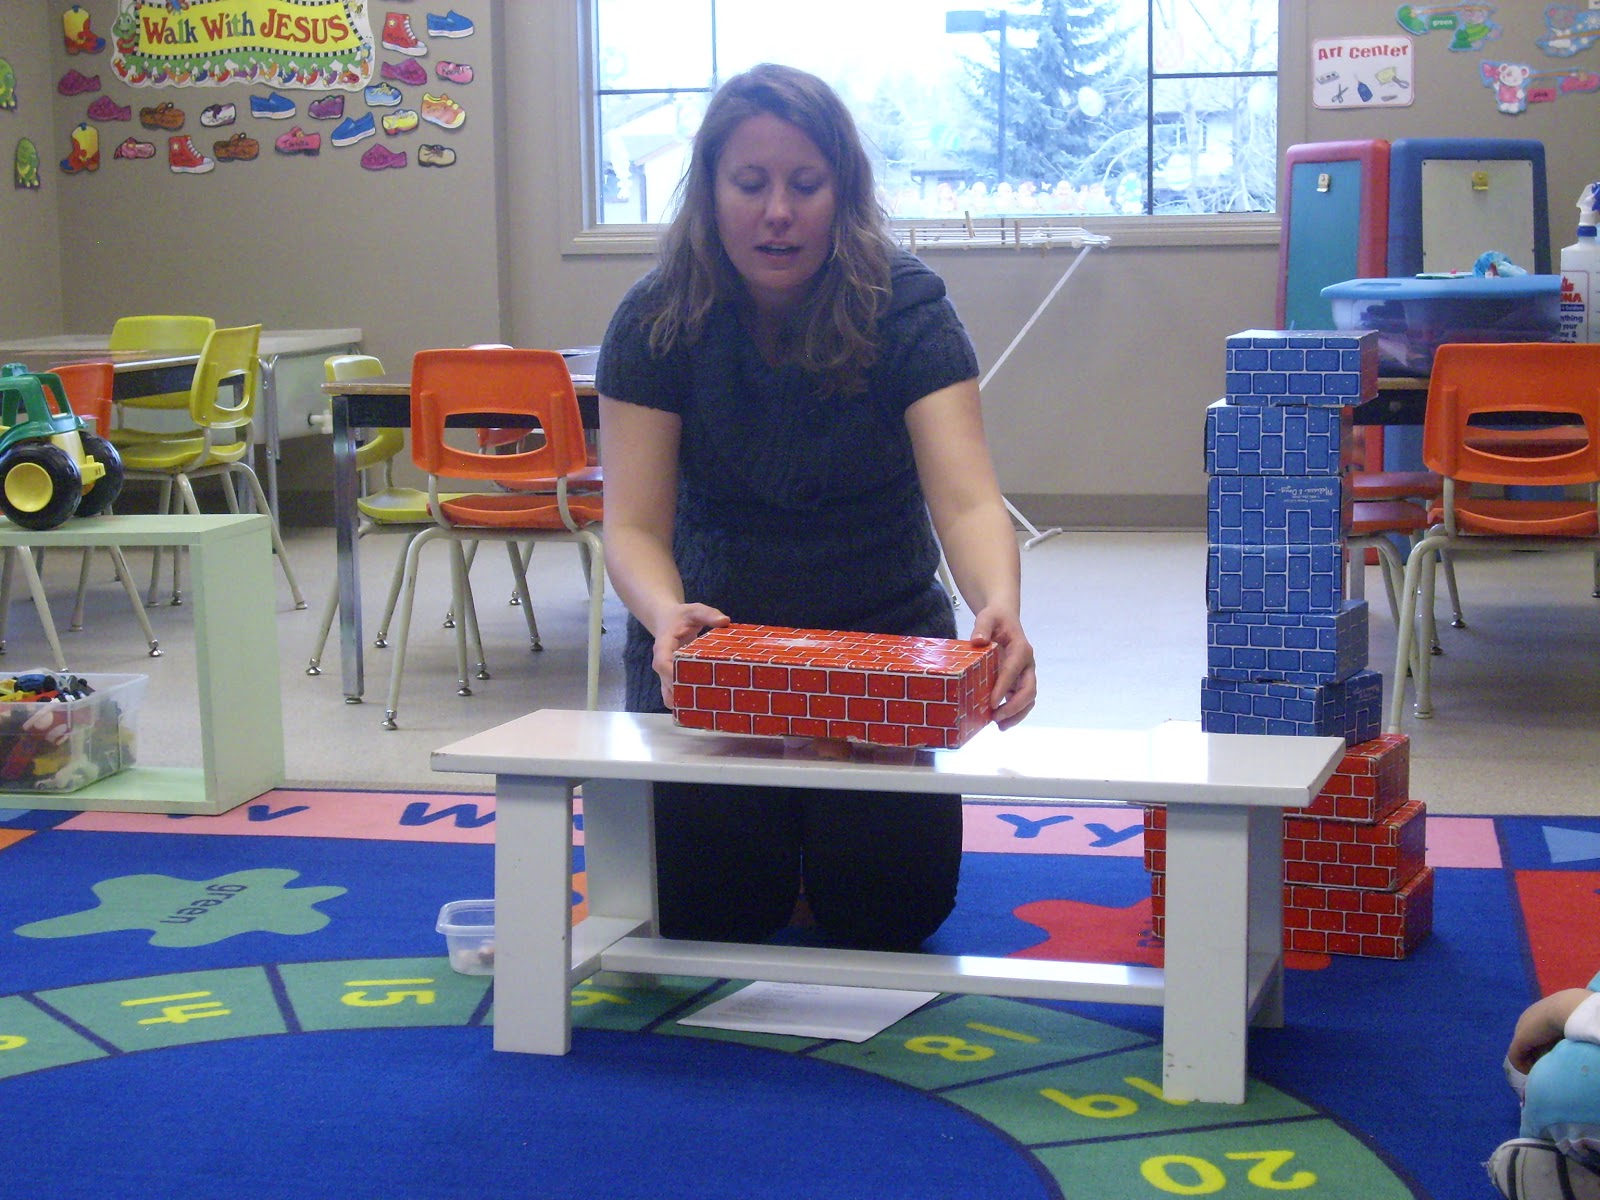
- Blocks and Airports: Some of our children used blocks to make a runway for their planes. The 3 year old class in particular used this to explore the project.
- Visit by a Real Pilot: My co-worker and I dressed up as pilots during this project with hats, and wings on our jackets. When I told the children that a pilot was coming to school to visit them they replied, "A real pilot or a pretend one like you"? The real one was a lot more interesting then us! He came to our 4 year old classes in his uniform and brought in a number of objects for the children to explore. Some items were: head set, log book, license, model plane, and book of airports. Then, we watched a little video he had made of the plane he flew. The children saw the inspection of the plane, it taking off from the cockpit, and landing back in Calgary.
- Photographs: We encouraged the children to bring in a picture of themselves on a plane or at a place they travelled to by plane. We put these up on the wall to encourage and inspire conversation amongst the children.
- Book Time: We have book and puzzle time while a staff is doing the washing up for snack routine. I love this time because it inspires children to find answers to their questions in books or make learning connections within our projects.
- Transitions: Our children had to follow the signs to B1 on the way back from gym to the classroom. I put sign with arrows up in the hallways and the children had to find the way to our gate! I moved them around so we ended up taking different routes back to our gate.
- Cooking: On the plane you are offered cookies or Bits and Bites and we made these at school!
Concluding the Project:
 |
| Shell Sorting in Hawaii |
To end our project on Travelling by Plane and Airports we took a trip to Hawaii! The children and staff dressed up in Hawaiian clothing. We had Hawaiian shirts and dresses, sandals, sunglasses, hats, towels, and even a little inner tube! On this day we set up the chairs for group time and taped a number to each one. The children had to come in and find their correct seat on the plane. Then we fastened our seat belts and took off for our flight using the footage from the video our pilot made us. In the air we had some pretend juice and I offered the children some "Bits and Bites". Then, I told them we were near Hawaii when they saw a volcano out the window. I brought out a volcano made from play dough, baking soda, red food colouring, and vinegar. We watched it erupt from our plane! Then we landed in Hawaii and set out to vacation and make some ice cream!
 |
| Bananas and Mr. Mouse |
A special piece of our vacation to Hawaii was discovering that our classroom friends Mr. Mouse and Bananas the Monkey were there too! They had sent us a postcard from Hawaii and we made some some postcards to mail to our house too! We sure had fun travelling by plane but we are wanting to get into our next project - Fire Fighters and Fire Safety!
 On Monday I introduced a prop box with fire jackets, helmets, axes, a hose, walkie talkie, pictures of fire, and play fire extinguisher. Many children dove into dramatic play putting fires out all over the classroom. Yesterday, my practicum student brought in a prop box that she had made and it had some great ideas. One was that she made maps of Calgary and the children were reading them and determining where the fire was.